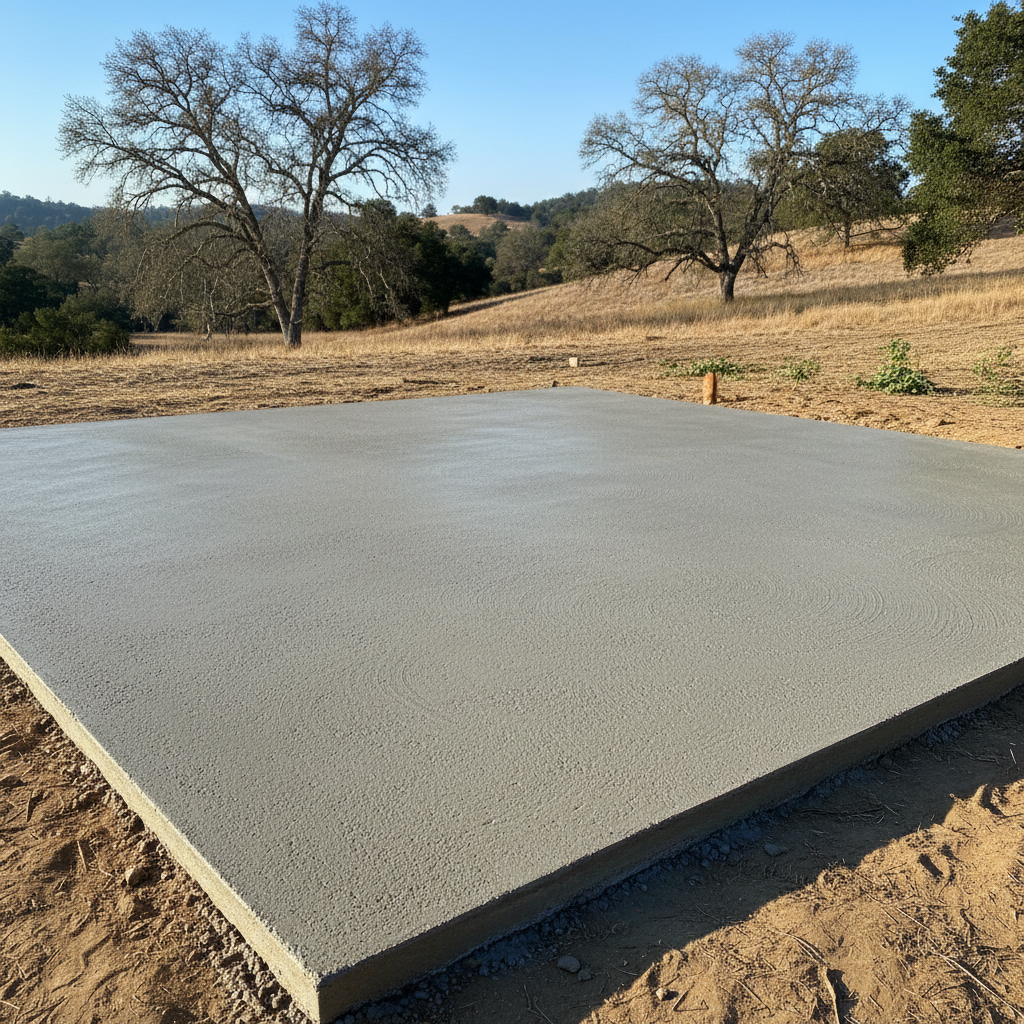
Alright, let's talk shed foundations. You've picked out your shed, maybe even got it delivered, and now it's just sitting there, waiting for a proper home. A lot of folks think the shed itself is the main event, but I'm here to tell you, the foundation is absolutely critical. Without a good, level, and stable base, that shed isn't going to last, no matter how well it's built. You'll end up with twisted doors, cracked floors, and a whole lot of headaches down the road. Trust me on this one.
Before You Even Dig: Planning & Permits
First things first, before you even think about shovels or concrete, you've got to plan. Where's this shed going to sit? Is the ground level there? What's the drainage like? Here in Oakdale, especially in some of those older neighborhoods with established trees, you might have roots to contend with. Or if you're out closer to the river, that soil can be a bit more silty and really needs extra compaction.
You also need to check with the City of Oakdale building department. For smaller sheds, say under 120 square feet, you might not need a building permit, but you should always verify that. Even if you don't need a permit, there might be setback requirements from property lines or other structures. Don't skip this step; a quick call can save you a lot of grief later on.
Think about access too. How are you getting materials to the site? Is there enough room for a wheelbarrow, or maybe even a small excavator if you're going big? These are the practical things I see people forget all the time.
Foundation Types: What's Right For Your Shed?
There are a few common types of foundations for sheds, and each has its pros and cons. What you pick really depends on the size of your shed, your budget, and how much work you're willing to put in.
- Gravel Pad: This is probably the most common choice for smaller, lighter sheds. It's basically a leveled area with a perimeter frame (usually treated lumber) filled with compacted gravel. It drains well and gives you a pretty level surface. You can definitely DIY this one if you're up for some digging and hauling.
- Concrete Blocks (Skids or Piers): If your shed has a built-in floor frame, you can sometimes just set it on concrete blocks. These need to be perfectly level and spaced correctly to support the shed's weight. This is another DIY-friendly option, but getting those blocks perfectly level on uneven ground takes real patience.
- Concrete Slab: This is the Cadillac of shed foundations. A concrete slab gives you the most stable, durable, and pest-resistant base. It's ideal for larger sheds, workshops, or any shed where you'll be storing heavy equipment. This is where you really need to consider calling a pro, especially for anything over 100 square feet. Pouring a slab means proper grading, rebar, forms, and knowing how to finish concrete – it's an art and a science, honestly.
- Wood Frame (Skid Foundation): Some sheds come with, or are designed for, a pressure-treated wood frame that sits directly on the ground or on gravel. These usually have heavy-duty skids running the length of the shed. It's good for smaller sheds and can even be moved if you need to.
DIY vs. Calling a Pro: Where to Draw the Line
Look, I'm all for homeowners tackling projects themselves. It's rewarding, and it saves money. For a small garden shed (say, 8x10 or 10x12) that's going on a gravel pad or concrete blocks, you can absolutely do it yourself. You'll need a good shovel, a level, a tamper (or rent one), some treated lumber, and a strong back. Take your time, measure everything twice, and make sure that base is dead level. That's the biggest mistake I see folks make – rushing the leveling.
However, when you start talking about larger sheds, anything that's going to be a workshop, or if you're looking at a concrete slab, that's when you should seriously consider bringing in a professional. Pouring concrete isn't just about mixing cement and water. You need to understand proper sub-base preparation, vapor barriers, rebar placement, and how to pour and finish the slab so it drains correctly and doesn't crack prematurely. A bad slab can ruin your whole shed project, after all.
Also, if your site has a significant slope, or if you're dealing with really rocky or unstable soil conditions, a professional will know how to properly prepare the site and design a foundation that will stand the test of time. Here at Oakdale Shed Solutions, we've seen all sorts of terrain, and we know what works best for our local conditions.
During the Build: Don't Cut Corners
No matter which foundation type you choose, don't skimp on materials. Use pressure-treated lumber for anything that's touching the ground. Make sure your gravel is compacted well. If you're using blocks, ensure they're on a stable, level base of compacted gravel or sand.
And always, always check for level. Not just once, but multiple times throughout the process. A slightly unlevel foundation will cause big problems when you start framing the walls and trying to get doors and windows to operate correctly.
After the Foundation: Keep an Eye On It
Once your shed is built and settled, it's not a set-it-and-forget-it deal. Periodically check around the foundation. Look for signs of settling, erosion, or pest activity. Make sure water is draining away from the shed, not pooling around the base. If you have a gravel pad, you might need to top it up every few years. If you've got a concrete slab, check for cracks and seal them if they appear.
A solid foundation is the unsung hero of any shed. Do it right the first time, whether you're doing it yourself or hiring a pro, and your shed will serve you well for decades.